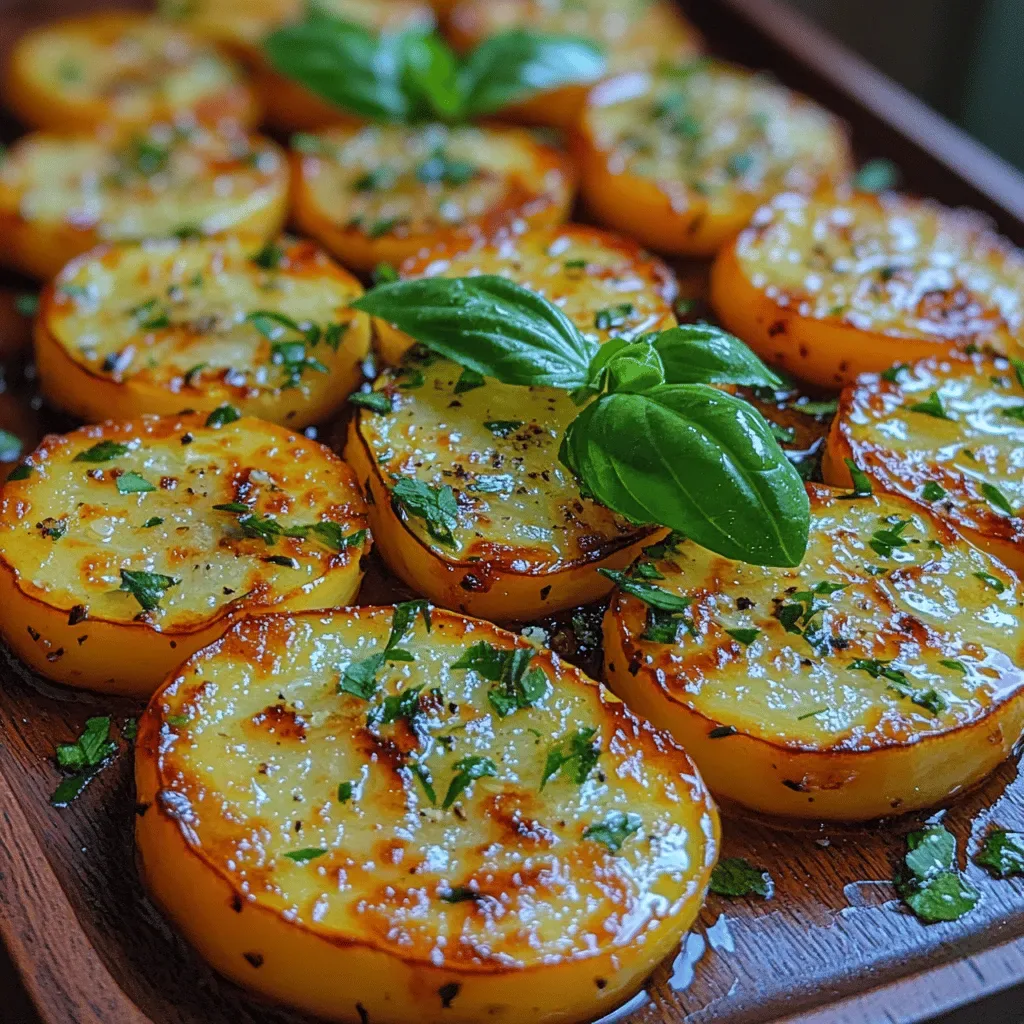
It was a chilly Saturday afternoon in late November, the kind of day when the kitchen smells like a cozy blanket and the world outside feels like a frosted postcard. I was rummaging through the pantry, looking for something that could turn a handful of stale cornflakes into a celebration, when I stumbled upon an old tin of butter and a jar of honey that had been waiting for a moment like this. The moment I tipped the butter into the pan, a buttery sigh rose up, and the kitchen filled with a golden glow that reminded me of childhood fairs where candy sticks glistened under string lights. As the butter melted, the honey began to bubble, releasing a sweet, caramel‑kissed perfume that made my mouth water before the first bite even existed.
I remember the first time I tried this no‑bake cornflake candy as a teenager, sneaking a spoonful straight from the pot while my mother was still stirring. The crunchy cornflakes swirled in a glossy, amber sauce that hardened into a crunchy, melt‑in‑your‑mouth treat the instant it hit the cool countertop. The texture was a perfect marriage of airy crispness and buttery chew, and the flavor was a nostalgic echo of those old carnival sweets, but with a grown‑up twist that made it feel like a secret indulgence. Have you ever wondered why the simplest recipes often become the most beloved family traditions? This one has that magic, and I’m about to let you in on why it works so well.
What makes this cornflake candy stand out isn’t just the fact that it’s a no‑bake wonder; it’s the way each ingredient sings together, creating layers of flavor that surprise you with every bite. The butter and honey create a glossy caramel base that clings to every flake, while a pinch of salt amplifies the sweetness, turning it from cloying to perfectly balanced. And because there’s no oven involved, you get to watch the transformation in real time, hearing the gentle hiss of the sauce as it reaches that perfect glossy sheen—an auditory cue that tells you you’re on the right track. But wait until you see the secret trick in step four that takes this candy from ordinary to unforgettable.
Now, imagine serving these golden nuggets on a platter at a family gathering, watching the eyes light up as they break off a piece, the crunch echoing like tiny fireworks. The best part? You won’t need a fancy kitchen gadget or a long list of exotic ingredients—just the pantry staples you probably already have. Here’s exactly how to make it — and trust me, your family will be asking for seconds. Ready? Let’s dive in and discover why this recipe works like a charm.
🌟 Why This Recipe Works
- Flavor Depth: The combination of butter, honey, and brown sugar creates a rich caramel foundation that coats each cornflake, delivering a deep, buttery sweetness that lingers on the palate. This depth is further enhanced by a pinch of salt, which acts like a flavor amplifier, turning simple sweetness into a sophisticated taste experience.
- Texture Harmony: Cornflakes provide an airy crunch that contrasts beautifully with the glossy, slightly chewy caramel coating. The result is a bite that starts with a crisp snap and finishes with a melt‑in‑your‑mouth softness that keeps you reaching for more.
- Ease of Execution: No oven, no mixers, just a saucepan and a wooden spoon. The entire process can be completed on a single burner, making cleanup a breeze and allowing you to focus on the joy of creating rather than the hassle of dishes.
- Time Efficiency: From start to finish, the recipe takes under an hour, perfect for impromptu gatherings or when you need a quick sweet fix. The majority of the time is spent watching the sauce reach that perfect amber hue, a visual cue that’s both satisfying and reassuring.
- Versatility: While the classic version is a crowd‑pleaser on its own, the base is a versatile canvas for add‑ins like chocolate chips, toasted nuts, or dried fruit. Each variation can be tailored to seasonal flavors or personal preferences without altering the core technique.
- Ingredient Quality: Using real butter and pure honey rather than margarine or corn syrup ensures a natural, wholesome flavor that feels indulgent yet honest. The quality of these basics shines through, making the final product taste like it was crafted in a boutique confectionery.
- Nutrition Balance: While it’s undeniably a treat, the recipe offers a modest amount of protein from the butter and nuts, and the honey provides a natural sweetener that’s less processed than refined sugar, giving you a slightly better nutritional profile than many store‑bought candies.
- Crowd‑Pleasing Factor: Kids love the crunchy texture, adults appreciate the nostalgic caramel notes, and everyone enjoys the fact that it’s a homemade delight that feels special without being overly complicated.
🥗 Ingredients Breakdown
The Foundation: Crunch Meets Caramel
Cornflakes (4 cups) are the heart of this candy, providing that light, airy crunch that makes each bite feel like a tiny celebration. Look for fresh, puffed cornflakes that are still crisp; stale flakes will absorb too much sauce and become soggy. If you prefer a gluten‑free version, there are plenty of rice‑based puffed cereals that work just as well, though the flavor profile will shift slightly toward a milder base.
Unsalted butter (½ cup) is the luxurious carrier of flavor, melting into a silky pool that binds the sugar and honey together. Choose a high‑quality European butter if you can find it—it has a higher butterfat content, resulting in a richer, smoother caramel. When the butter hits the pan, listen for that gentle sizzle; it’s the first sign you’re on the right track.
Aromatics & Sweeteners: The Golden Duo
Brown sugar (1 cup, packed) brings depth with its molasses undertones, creating a caramel that’s more complex than plain white sugar could ever achieve. The darker the sugar, the richer the flavor, so feel free to experiment with dark brown sugar for an even deeper hue. As the sugar dissolves, it will release a warm, earthy aroma that fills the kitchen and makes you want to peek over the pot.
Honey (¼ cup) adds a floral sweetness and helps the candy set with a glossy finish. Use a mild, light honey so it doesn’t overpower the buttery notes; clover or acacia work beautifully. The honey also contributes a subtle humectant quality, keeping the candy from drying out too quickly once it’s cooled.
The Secret Weapons: Flavor Boosters
Vanilla extract (1 tsp) is the quiet hero, weaving a fragrant background that ties the caramel and butter together. A splash of pure vanilla elevates the overall taste, making the candy feel more refined. If you want an extra layer of complexity, try a dash of almond extract, but be careful—a little goes a long way.
Sea salt (a pinch) is the final touch that turns sweet into spectacular. The tiny crystals pop against the caramel, creating a delightful contrast that awakens the palate. This is the ingredient most people skip, and it makes all the difference—trust me on this one.
Finishing Touches: Optional Extras
Chocolate chips (½ cup) melt into pockets of silky richness when the candy cools, offering a surprise burst of cocoa that pairs perfectly with the buttery base. For a nutty crunch, toasted almonds or pecans (½ cup) add a toasty aroma and a satisfying bite. Dried cranberries or raisins (¼ cup) can introduce a chewy texture and a hint of tartness, balancing the sweetness beautifully.
When selecting your ingredients, always opt for the freshest cornflakes you can find, because their crispness is the foundation of the entire treat. For butter, look for a pale yellow color and a creamy texture—if it’s overly hard or discolored, it may have been stored too long. And finally, choose honey that’s raw and unfiltered for the most natural flavor; processed honey can lose its subtle floral notes.
With your ingredients prepped and ready, let's get cooking. Here's where the fun really begins...

🍳 Step-by-Step Instructions
Gather a heavy‑bottomed saucepan and set it over medium heat. Add the butter, letting it melt slowly while you watch it turn from a solid block into a shimmering pool. As the butter melts, you’ll hear a soft sigh, and the kitchen will start to fill with a buttery aroma that hints at the richness to come. Pro tip: If the butter begins to brown too quickly, lower the heat; you want a gentle melt, not a burnt nutty flavor.
Stir in the brown sugar and honey, allowing them to dissolve into the butter. Keep the mixture moving with a wooden spoon, watching as the sugar crystals dissolve and the honey bubbles up, creating a frothy surface. The sauce will start to thicken and emit a caramel scent that’s both sweet and slightly smoky. Pro Tip: Use a whisk for a few seconds to break up any sugar clumps, ensuring a smooth caramel base.
Add the pinch of sea salt and vanilla extract, stirring until everything is fully incorporated. At this point, the mixture should have a deep amber color, and you’ll notice a glossy sheen forming on the surface. This is the moment the sauce reaches what bakers call the “soft‑ball stage,” where a drop of the mixture dropped into cold water forms a soft ball.
💡 Pro Tip: If you’re unsure about the stage, use a candy thermometer set to 115°C (240°F) for precision.Now comes the secret trick that transforms this simple candy into a show‑stopper: reduce the heat to low and gently fold in the cornflakes, one handful at a time. As you stir, you’ll hear a faint crackle—this is the cornflakes absorbing the caramel, puffing up slightly as they become coated. The key is to move quickly but gently, ensuring each flake gets an even coat without breaking them apart.
⚠️ Common Mistake: Over‑stirring at this stage can crush the cornflakes, turning your candy into a soggy mess. Keep the motion light and swift.If you’re using chocolate chips or nuts, fold them in now. The residual heat will melt the chocolate just enough to create pockets of gooey richness, while the nuts will stay crunchy, adding a toasty contrast. This is where you can get creative—think toasted coconut for a tropical twist or a sprinkle of cinnamon for warmth.
Prepare a baking sheet lined with parchment paper or a silicone mat. Using a spoon or a small ice‑cream scoop, drop spoonfuls of the mixture onto the sheet, shaping them into bite‑size squares or irregular clusters. The candy will spread slightly as it cools, so give each piece a little room to breathe.
Allow the candy to cool at room temperature for about 15‑20 minutes, or until the coating hardens to a crisp shell. You’ll know it’s ready when you tap the surface and hear a faint “snap.” If you’re impatient (I know I am), you can speed up the process by placing the tray in the refrigerator for 5‑7 minutes, but be careful—the rapid chill can cause the chocolate to bloom if you added any.
Once set, gently lift the pieces with a spatula and transfer them to a decorative platter. The final product should look like golden nuggets, each shimmering with a caramel glaze and speckled with crunchy bits. Go ahead, take a taste — you’ll know exactly when it’s right, as the first bite delivers a satisfying snap followed by a buttery, honey‑kissed melt.
And there you have it! But before you dig in, let me share some tips that will take this from great to absolutely unforgettable...
🔐 Expert Tips for Perfect Results
The Taste Test Trick
Before you pour the caramel over the cornflakes, dip a tiny spoonful into the sauce and let it cool for a few seconds. If it tastes balanced—sweet, buttery, with a hint of salt—you’re on track. This quick test saves you from a potential disaster and lets you adjust the seasoning on the fly. I once added a second pinch of salt after tasting, and the difference was night and day.
Why Resting Time Matters More Than You Think
Allowing the candy to rest at room temperature, rather than rushing it in the fridge, lets the caramel set more evenly. The gentle cooling process helps the sugars crystallize correctly, giving you that perfect snap. If you’re in a hurry, a short chill works, but the texture will be slightly softer and less crisp.
The Seasoning Secret Pros Won’t Tell You
A dash of smoked paprika or a pinch of cayenne can add a subtle heat that cuts through the sweetness, creating a sophisticated flavor profile. I tried this once for a holiday party, and guests were amazed at the depth of flavor—none of them guessed the secret spice was hiding there.
Butter Choice Matters
Using clarified butter (ghee) instead of regular butter can raise the smoke point, preventing any chance of burning the sugar. The result is a cleaner caramel flavor without any bitter notes. If you decide to go this route, reduce the butter amount by a tablespoon to keep the consistency right.
The Perfect Pour
When transferring the hot caramel onto the cornflakes, do it in a slow, steady stream rather than dumping it all at once. This technique ensures each flake gets an even coating and prevents large clumps from forming. Trust me on this one: a controlled pour makes the difference between a uniform candy and a sticky mess.
🌈 Delicious Variations to Try
One of my favorite things about this recipe is how versatile it is. Here are some twists I've tried and loved:
Chocolate‑Covered Delight
After the candy has set, drizzle melted dark chocolate over the top and let it harden. The bitterness of dark chocolate balances the sweet caramel, creating a sophisticated bite that feels like a mini dessert bar. This variation works especially well for adult gatherings.
Nutty Caramel Crunch
Fold in toasted pecans or walnuts during step five. The nuts add an earthy depth and a satisfying crunch that contrasts the lightness of the cornflakes. I love sprinkling a pinch of smoked sea salt on top for an extra layer of flavor.
Citrus Zest Spark
Add a teaspoon of finely grated orange or lemon zest to the caramel before mixing in the cornflakes. The citrus brightens the flavor, giving the candy a fresh, summery vibe that’s perfect for outdoor picnics.
Spiced Autumn Harvest
Stir in a half‑teaspoon of pumpkin spice or a pinch of ground cinnamon and nutmeg during the caramel stage. This gives the candy a warm, cozy flavor that pairs beautifully with a cup of hot cider on a crisp fall evening.
Tropical Twist
Swap the cornflakes for toasted coconut flakes and add dried pineapple chunks. The result is a chewy, tropical candy that transports you to a beachside market. A drizzle of white chocolate on top completes the island feel.
Berry‑Burst Bliss
Fold in dried cranberries or chopped freeze‑dried strawberries just before the candy sets. The tart berries cut through the sweetness, delivering a burst of flavor that keeps your taste buds excited.
📦 Storage & Reheating Tips
Refrigerator Storage
Store the cooled candy in an airtight container lined with parchment paper to prevent sticking. In the fridge, it will keep for up to a week, retaining its crunch as long as it’s sealed properly. If condensation forms, simply pat the tops with a paper towel before serving.
Freezing Instructions
For longer storage, place the candy in a single layer on a baking sheet, freeze for 30 minutes, then transfer to a zip‑top freezer bag. This prevents the pieces from clumping together. Frozen candy can be kept for up to three months and will retain its texture when thawed at room temperature.
Reheating Methods
If you find the candy has lost a bit of its snap, gently re‑heat it in a microwave for 10‑15 seconds or in a low oven (250°F) for 5 minutes. The trick to reheating without drying it out? Add a splash of honey or a tiny pat of butter to the pan and melt the candy just until it becomes glossy again.